
Di Emma Carter · 20 settembre 2026
AI Food Photo Enhancers: Fix Bad Dish Photos
Every restaurant has them: dish photos shot at 10 p.m. under yellow ceiling lights, the plate half in shadow, receipts and sauce bottles crowding the background.
They are honest photos of good food — and they quietly cost orders, because online, guests eat with their eyes first. An AI food photo enhancer fixes most of these shots in minutes, no photography skills required.
This guide covers what these tools actually do, when to use one, a step-by-step workflow, and — just as important — what an enhancer should never do to a photo of your food.
Key takeaways
- AI food photo enhancers rebuild light, background and framing while keeping the dish itself real.
- Enhance photos that are dark, cluttered or inconsistent; reshoot the ones that are missing or untrue.
- Workflow: best possible original, scene settings, compare and restore, then straight onto the menu.
- The honesty line: no invented ingredients, no identity swaps — guests order what the photo shows.
What is an AI food photo enhancer?
An AI food photo enhancer is a tool that rebuilds the environment of a dish photo while keeping the dish itself real.
Instead of just sharpening pixels, modern enhancers use generative image models to relight the scene, replace a cluttered background, correct color casts, and re-frame the plate like a professional shot.
That distinction matters. Old-school "enhancers" upscaled or sharpened your image — a dark, blurry photo simply became a bigger dark, blurry photo. Generative enhancers change the conditions of the shoot after the fact: same dish, new light, clean backdrop, deliberate camera angle.
It's worth asking why this matters commercially.
When Restaurant365 surveyed more than 420 restaurant operators in 2026, back-office AI adoption had "more than doubled since January," and 88% of AI users reported saving time every week (foodinstitute.com).
Photo fixing is the same story one layer up: minutes of AI work replacing hours of reshooting.
When does a menu photo need enhancing?
Walk through your current menu photos and check for these signals:
- Dim or yellow light. Warm indoor light makes sauces look muddy and garnishes look grey.
- Cluttered backgrounds. Tables, elbows, condiment bottles and menus in frame compete with the dish.
- Distracting color casts. A blue tint from fluorescent tubes or an orange wash from tungsten bulbs.
- Inconsistent sets. Ten dishes shot in ten different places — the menu looks like a collage, not a restaurant.
- Blurry or low-resolution originals. Cropped screenshots and old phone photos that fall apart when enlarged.
One system-wide rule helps: delivery platforms already set the bar.
DoorDash requires photos that "clearly show menu items in proper lighting, without text or other overlays," focused, on a neutral background (merchants.doordash.com).
If your photos wouldn't pass that bar, your menu is below it — and our guide to taking professional food photos with your phone covers how to shoot above it in the first place.
How to enhance dish photos with AI, step by step
Step 1: Shoot the best original you can
AI amplifies a decent photo; it doesn't invent your dinner. Before enhancing, spend thirty seconds on the source: face a window, keep the main light to the side or above the plate, and wipe the lens.
Soft, directional light is the single biggest upgrade — photography guides for merchants consistently recommend a large soft source like "a frosted window" to prevent harsh shadows (shopify.com).
Step 2: Upload and choose the scene
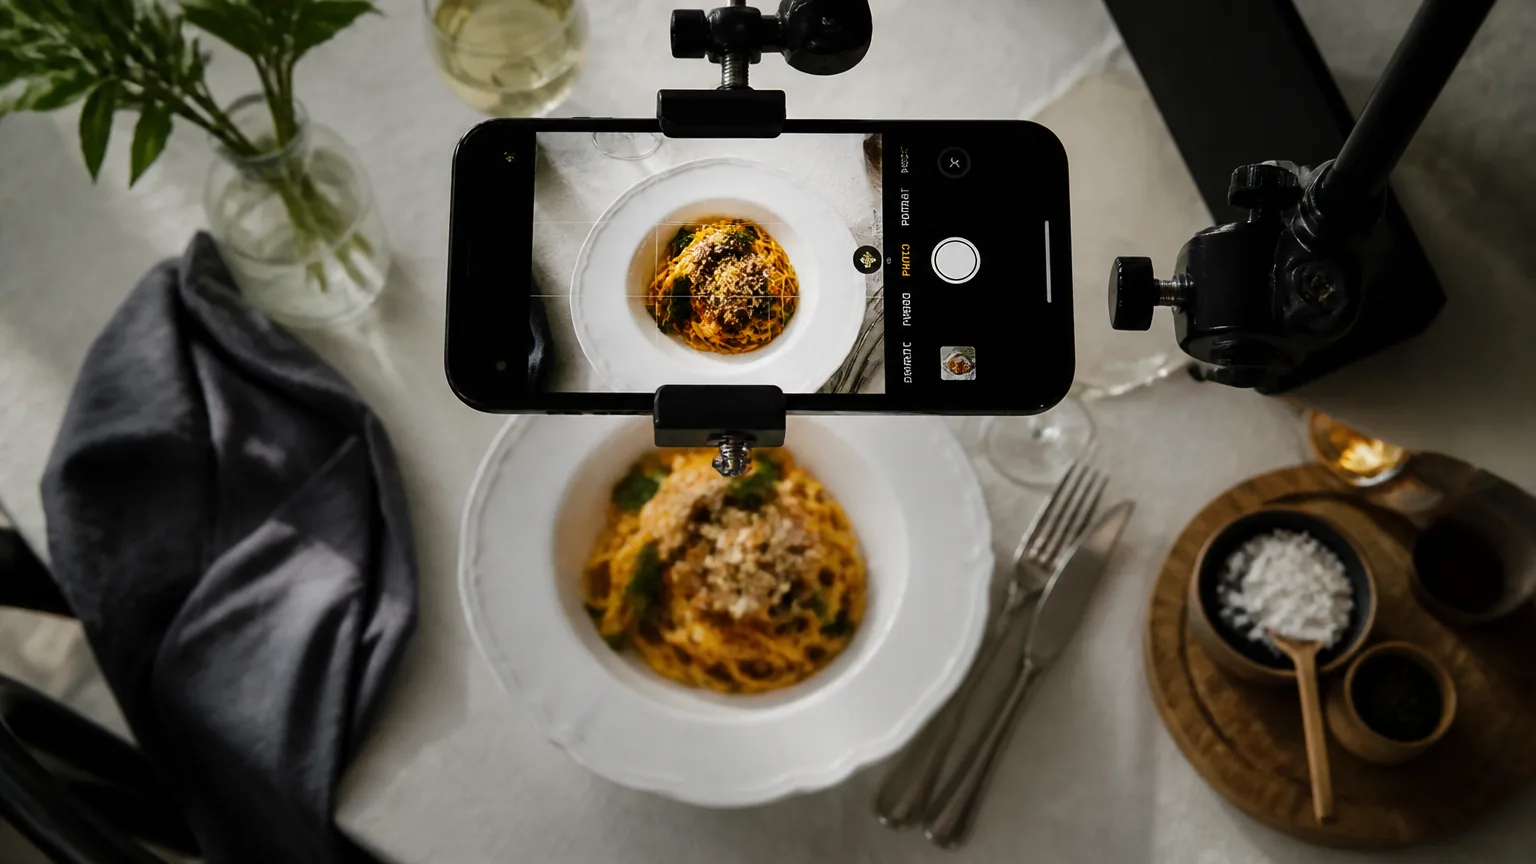
Upload your photo to the AI food photo editor, then match the settings to the dish rather than accepting defaults blindly.
A good enhancer asks four things: the scene (casual dining, fine dining, café drinks, desserts), how aggressive the rebuild should be, the output ratio your menu slot needs, and the background and tone.
MenuLolo's editor, for example, offers scene presets plus strength levels, five ratios from 1:1 to 9:16, seven backgrounds and three tones — set once per dish type, then reuse.
Step 3: Compare, restore, regenerate
Run the enhancement, then judge it against the original with a before-and-after view.
Good tools keep your original untouched and let you restore it with one click, so experimenting costs nothing but a few credits when you keep a version.
If the first result over-stages the dish, dial the strength down instead of accepting a photo that no longer looks like your kitchen's food.
Step 4: Put the photo to work
Drop the enhanced image into the dish in your menu maker, on your delivery platform listings, and on your social posts.
One cleaned-up set of photos lifts every surface at once — and since menus with images reliably outsell text-only listings, this is the highest-leverage hour you'll spend on the menu this month.
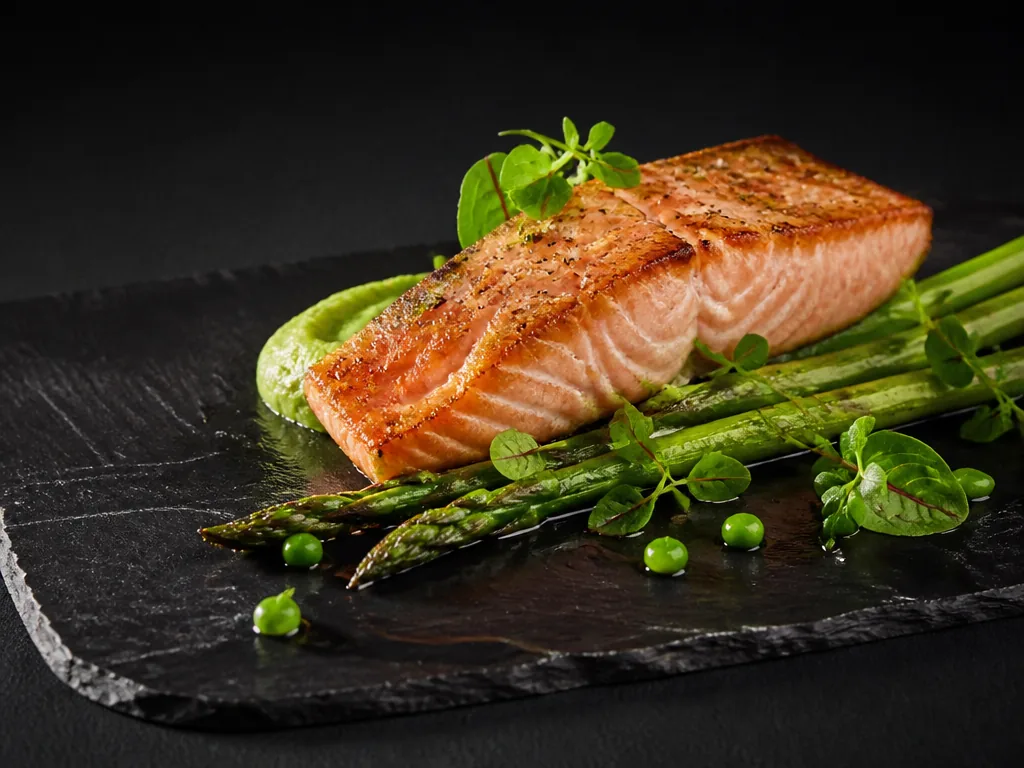
If you want more manual control than an enhancer offers — cropping, straightening, fine color work — our walkthrough of the AI food photo editor covers the full editing toolkit.
What can't an AI enhancer fix?
Here is the honesty section most tool pages skip:
- A dish you never shoot. AI works on photos that exist. Three dishes missing images need a phone, not software.
- Wrong food. If the enhancer adds garnishes, changes sauces or invents toppings that your kitchen doesn't serve, the photo is now false advertising. Enhancement should keep the dish's identity intact — same components, same character — only better lit.
- Identity-level retouching. Turning a beef burger into something plumper or a basic pour into latte art crosses from cleanup into fabrication. Guests order what the photo shows and complain when the plate disagrees.
- Every photo at once, blindly. Spot-check each output. Batch tools occasionally mangle a plate edge or merge a fork into the food.
The trust rule: the enhanced photo must still be recognizably your dish. If you wouldn't serve the plate in the picture, reshoot instead of retouching.
How do you choose an AI food photo enhancer?
Five checks before you commit credits to one:
- Generative relighting, not just sharpening. You want the scene rebuilt — light, background, angle — not an upscale filter.
- Food-true outputs. The tool should keep ingredients and plating honest; test it on your most complex dish.
- Before/after comparison and easy restore. You should always see the original and be able to return to it.
- Clear per-photo pricing. You should know the cost per enhancement before you press the button — MenuLolo charges 10 credits per enhancement and refunds automatically if a run fails.
- A path onto your menu. The best tools feed the image straight into your menu — retouch here, place it on the dish there — instead of leaving you to shuffle files.
FAQ
Will AI enhancement make my food look fake?
Not if you use the right strength. Lighter settings relight and clean the background while locking the camera and plating; stronger settings re-stage more aggressively. Judge each result against the real dish and keep the ones your kitchen would recognize.
How much does it cost to enhance a dish photo?
With MenuLolo, 10 credits per enhancement, and new accounts start with 10 free credits — so your first enhanced photo is free. Failed generations refund automatically. Uploading a photo without enhancing it never costs credits.
Can AI fix a very blurry photo?
It can compensate for soft focus by regenerating the scene, but detail that was never captured — steam, texture, crisp garnish edges — has to be reinvented, which risks drifting from the real dish. For badly blurred shots, a quick reshoot usually beats a heavy enhancement.
What size should menu photos be?
Match your menu's slots: square 1:1 covers most list layouts, 4:3 suits feature layouts, and 9:16 fits vertical phone-first designs. A good enhancer outputs exact ratios so nothing gets center-cropped into losing the dish.
Do I need photography skills to use one?
No — that's the point. You need thirty seconds of decent light when shooting and two minutes of judgment when choosing the enhanced result. The software handles the rest.
Quick recap
- AI food photo enhancers rebuild light, background and framing while keeping the dish itself real.
- Enhance photos that are dark, cluttered or inconsistent; reshoot photos that are missing or untrue.
- Workflow: best possible original → scene settings → compare and restore → straight onto the menu.
- Keep the honesty line: no invented ingredients, no identity swaps — guests order what the photo shows.
- Try it free: MenuLolo starts you with 10 credits, and every enhancement lands directly in your menu.