
Por Emma Carter · 20 de setembro de 2026
How to Make Food Photos Look Professional, Free
Professional-looking food photos are not a budget problem — they're a workflow problem. The difference between a flat, yellow-tinted phone snap and a menu-worthy shot comes down to three things you can fix free: the light you shoot in, the way you crop and clean the frame, and about five minutes of editing. This guide walks through exactly that workflow, using free tools.
Key takeaways
- Professional food photos = directional soft light, a clean stage, deliberate framing and honest color.
- Window light and AE/AF lock do half the work before any editing starts.
- Core edit order: straighten, expose, neutralize the color cast, clean the stage, season gently.
- MenuLolo's AI editor runs the whole sequence from one upload — first enhancement free.
What makes a food photo look professional?
Strip away the studio gear and professional food photos share four traits:
- Directional soft light. Light comes from one side, not the ceiling — texture shows, shadows stay gentle.
- A clean stage. The background is simple and neutral; nothing competes with the dish.
- Deliberate framing. The plate fills the frame, the angle is chosen (overhead for flat lays, 45° for burgers and bowls), and the crop ratio matches where the photo will live.
- Honest color. Whites look white, greens look alive, and nothing is oversaturated into plastic.
Every step below serves one of those four traits. None of them requires paid software.
Start with the shot: two free habits that do half the work
Editing can rescue a mediocre photo, but thirty seconds of technique removes the need for rescue. Two habits cover most of it.
First, move toward light. Face a window with the light falling from the side or behind the plate. A large, soft source like "a frosted window" is the standard advice for avoiding harsh shadows, and it costs nothing (shopify.com). If the room's ceiling lights fight the window, turn them off — mixed color temperatures are what make food look grey and tired.
Second, lock focus and exposure. On an iPhone, tap and hold on the dish until AE/AF LOCK appears — photographers describe this as "a total game-changer" because the phone stops re-deciding exposure mid-shot and the plate stays sharp exactly where you want it (ckbk.com). Android cameras expose the same control as a tap-to-expose with a lock slider.
Shoot two or three frames per dish while the light is good. You're building a small set to choose from, not a portfolio.
How to edit food photos free online
With a decent original in hand, the edit is short. Here's the workflow, tool-agnostic — every step exists in free browser editors:
- Straighten and crop first. Level the horizon, then crop to the ratio your menu slot needs (1:1 for list layouts, 4:3 for feature rows, 9:16 for phone-first designs). Cropping last means doing it twice.
- Fix exposure before color. Lift shadows until the dark side of the plate shows texture, then pull highlights back if the whites blow out. A correct exposure makes most color problems smaller.
- Neutralize the color cast. If the photo went yellow under indoor lights or blue under tubes, shift the temperature until the white plate actually looks white. This single move is most of what reads as "professional."
- Clean the stage. Remove distracting crumbs, receipts or the edge of a second plate — free AI cleanup tools do this in one brush stroke. Keep it conservative: the table may look simple, but the food must stay untouched.
- Season gently. A touch of contrast, a touch of vibrance. Stop before colors outrun what your kitchen actually serves.
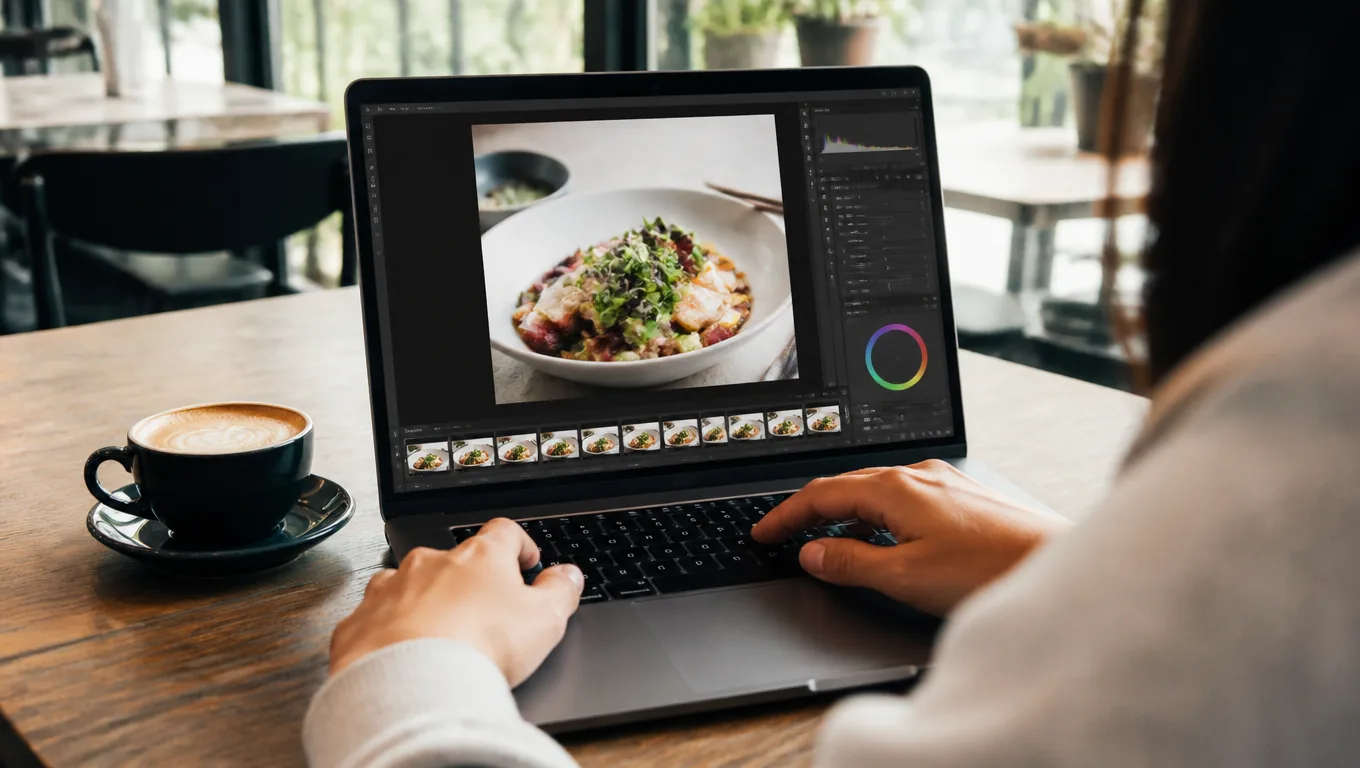
If you'd rather skip the sliders entirely, MenuLolo's AI food photo editor does this whole sequence automatically — upload, pick a scene and background, and it relights and re-stages the shot. Your first enhancement is free: new accounts start with 10 credits, and each enhancement costs 10. Uploading photos without enhancing them never costs anything.
Which free edits matter most?
If you only have five minutes per photo, spend them in this order:
- White balance — kills the yellow cast, the single biggest amateur tell.
- Exposure lift in shadows — reveals the texture that makes food appetizing.
- Crop to ratio — the photo fits its slot without awkward center-cropping.
- Background cleanup — one brush stroke over clutter.
- Mild vibrance — the final seasoning, used sparingly.
Everything else — vignettes, presets, HDR effects — is optional garnish.
The bar to clear is platform-grade: DoorDash requires merchant photos that "clearly show menu items in proper lighting, without text or other overlays" (merchants.doordash.com).
And the automation is already mainstream: in Restaurant365's 2026 survey of more than 420 operators, 88% of those using AI reported saving time every week (foodinstitute.com) — photo editing is the same math, one dish at a time.
What are the most common free-editing mistakes?
The mistakes are all versions of trying too hard:
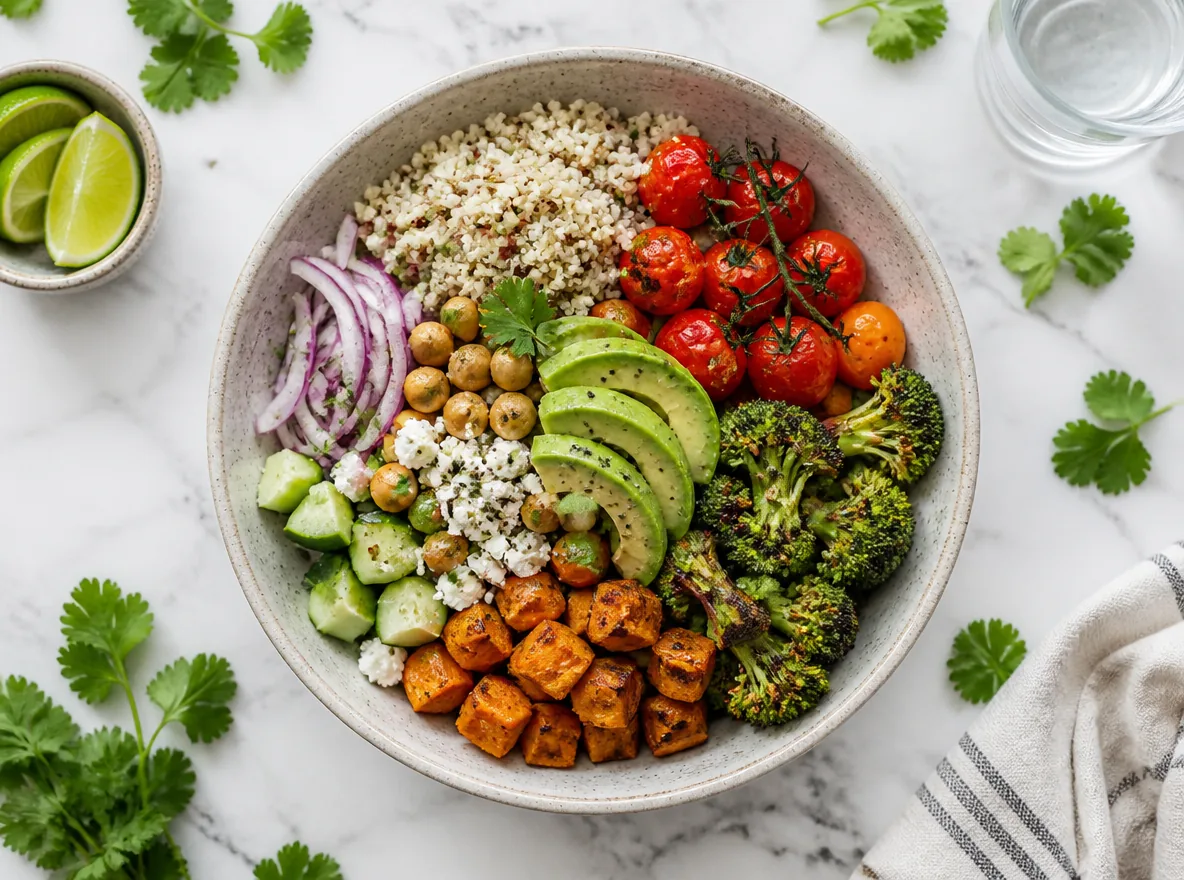
- Oversaturated colors. Sauces glowing neon red read as fake on delivery apps and menus alike. Compare the edit against the real plate.
- Filter stacks. Three filters fighting each other produce muddy, gray-tinged food. One consistent adjustment set per photo set beats three presets per photo.
- Fake backgrounds gone wrong. AI background swaps should put your dish on a plausible table — not float a plate over a castle. Check the shadows under the plate: if the plate doesn't sit, don't ship it.
- Inconsistent sets. Editing each photo in a different style makes the menu look like a collage. Pick one look and apply it to every dish.
- Editing the food itself. Adding steam, extra toppings or shine that isn't there crosses from presentation into misrepresentation — guests order what the photo shows, and trust is the one asset you can't re-edit.
How do edited photos get onto your menu?
Once a photo is cleaned up, it should go straight to work: place it on the dish in your menu maker, and it flows to the public menu, QR cards and printed layouts from the same source. Keep your edited set in one library so seasonal swaps reuse the same look.
The full shooting guide — posing plates, angles, props — lives in our professional food photos with your phone walkthrough, and the generative route (rebuilding light and scene entirely) is covered in the AI food photo editor and AI food photo enhancer guides.
FAQ
Can phone photos really look professional?
Yes — light and editing do far more than camera price. A window-lit plate, exposure-locked and white-balanced, is indistinguishable from a studio shot at menu size.
Which free tools should I use?
Any free editor with crop, white balance and shadow adjustment covers the core five edits. For automatic relighting and background replacement, an AI editor like MenuLolo's does the whole sequence from one upload — first enhancement free.
What resolution do menu photos need?
Enough for the largest place the photo appears: menus render dishes at modest sizes, so today's phone outputs are already sufficient. Keep originals uncropped and export at the ratio your layout needs.
How do I keep all my dish photos consistent?
Same light source, same angle family, same edit settings — and process the set in one sitting. Consistency reads as professionalism more than any single perfect shot.
Is AI editing cheating?
Editing light and background is presentation, not fabrication — restaurants have styled plates since film. The line is the dish itself: components and portions must stay exactly what the kitchen serves.
Quick recap
- Professional food photos = directional soft light + clean stage + deliberate framing + honest color.
- Two free shooting habits — window light and AE/AF lock — do half the work.
- The core edit: straighten, expose, neutralize color, clean the stage, season gently.
- Fix color casts first; oversaturation and filter stacks are the classic amateur tells.
- Free to apply: MenuLolo's AI editor starts with 10 free credits, and uploads are always free.