
By Daniel Reyes · September 18, 2026
AI Food Photo Editors: Fix Dish Photos in Minutes
Restaurant owners hear constant advice about professional food photography, but the practical bottleneck is different: most phones shoot under bad light, at night, in a rush. That is exactly the gap AI food photo editors now close.
The economics back the shift. Restaurant365's 2026 survey of 420+ operators — covered by The Food Institute — found 88% of restaurants using AI reported saving time each week, and 62% of those using AI for back-office functions reported reduced labor costs. Retouching is one of the tasks being pulled out of that cost column.
Key takeaways
- An AI food photo editor fixes light, color and background in one pass.
- The honesty rule: the plate a guest orders must match the plate that arrives.
- Restaurant-specific tools beat general editors for menu work.
- Shoot once in window light, edit once, publish everywhere — and keep your raw files.
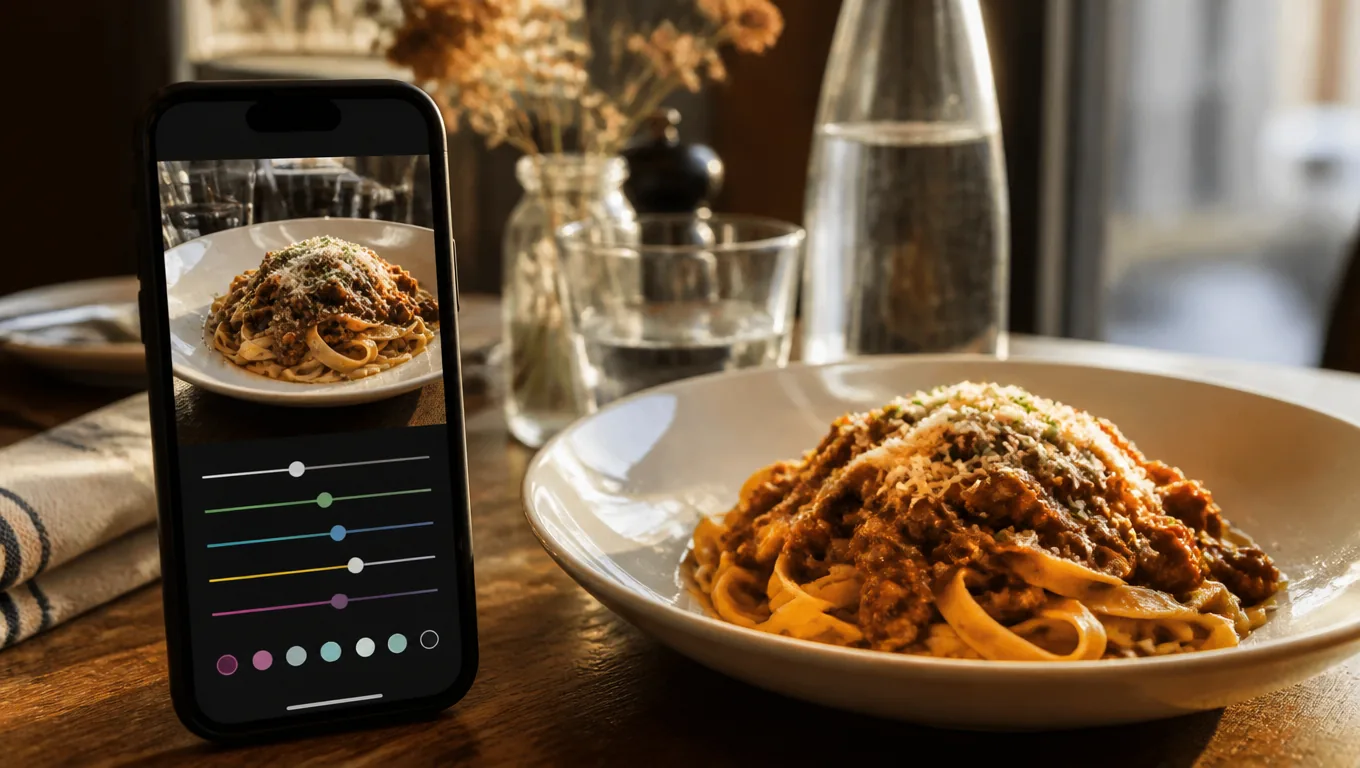
What an AI food photo editor actually fixes
Light. The yellow cast of dining-room fluorescents is the number one menu-photo killer. AI white balance pulls it back to neutral in one pass — the single most valuable fix in food photography, as guides like Shopify's emphasize when they tell you to start with soft, natural light.
Exposure and shadows. Dark-side-of-the-plate detail comes back without manual masking. The dish keeps its texture instead of going flat.
Background. Cluttered tables, stray menus, half a glass — AI can clean or replace the backdrop so the food is the subject. DoorDash's listing rules require photos on a neutral background, so this step directly protects your delivery listings.
Consistency. Five dishes shot on five days get matched to one look. A menu with coherent photos reads as a kitchen with standards — a wall of mismatched shots reads as a cafeteria. That is the day-one promise of a good AI food photo editor.
What it should never do
One rule sits above everything: the photo must not lie. Retouching that adds ingredients that are not in the dish, inflates portion size, or turns a sauce neon sets up a mismatch the guest remembers longer than the photo.
The honesty test is simple. A guest who orders from the photo should recognize the plate when it lands on the table. A good AI food photo editor improves light and color — it passes. One that changes the food fails — the same principle behind every good menu description.
AI editor vs human retoucher
A freelance retoucher charges per photo and takes days. An AI editor costs a fraction of the fee and takes seconds. For menu work — where you need every dish to look consistent, not one hero shot to look perfect — the math is not close.
Where a human still wins: magazine covers and campaign work with styled props and compositing. For the fifteen dishes on your menu, an AI food photo editor is the practical answer.
Choosing one: a quick checklist
Restaurant-specific beats general-purpose. General editors optimize for portraits and landscapes. Restaurant tools optimize for what matters on a menu: appetizing color, food texture, plate-neutral backgrounds.
One-pass results. If the auto mode still needs ten minutes of sliders, the automation is not doing its job.
Honest-output controls. Look for tools that enhance light and color but leave portions and ingredients untouched. The line between polish and deception should be built in.
Web-ready delivery. The output should be a compressed image that loads fast on a menu page — not another giant original you have to shrink yourself.
How to use one in your workflow
The pattern that pays: shoot once near a window — our phone food photography guide covers light and angles — then run each photo through the editor, then publish.
Practical order of operations for AI food photo editing:
- Crop the clutter you missed.
- Let AI correct white balance and exposure.
- Clean the background if the table was busy.
- Check the result against the real dish. Colors believable? Portion honest? Then it is menu-ready.
If you would rather skip sliders entirely, MenuLolo's AI food photo editor does exactly this in one pass: correct, sharpen, clean — built for restaurant menus rather than general photo editing.
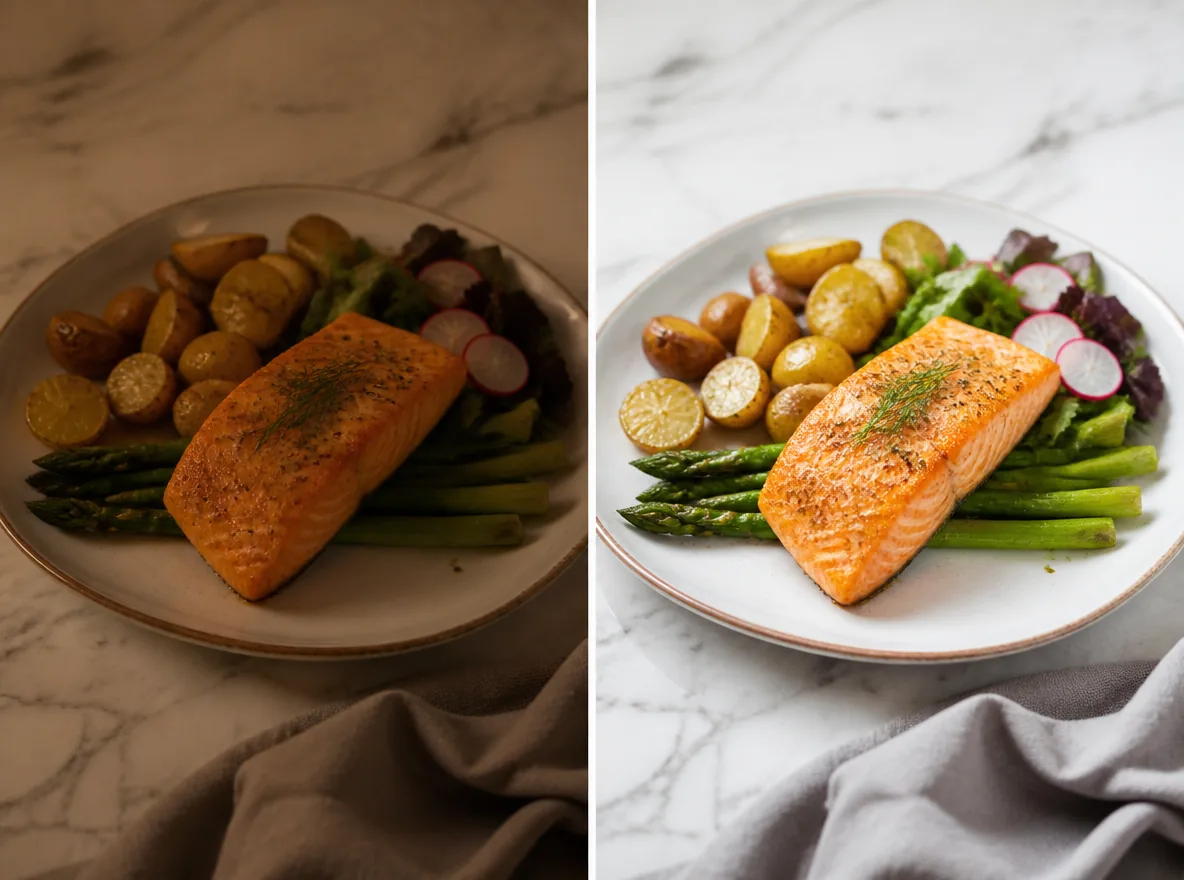
Then put the photos to work: slot them into your menu maker and refresh your QR code menu and delivery listings. Keep the originals — AI edits are cheap to redo, but raw files are irreplaceable.
When results look off
Even a good AI food photo editor occasionally overshoots. Three quick corrections: if colors look radioactive, lower the saturation the tool exposed; if plate edges look smeared, re-run at lower intensity; if the background looks fake, choose a subtle clean-up instead of a full replacement.
And when the editor keeps fighting you, the problem is usually the source shot. Two minutes of window light saves ten minutes of editing — that trade never changes, no matter how good the tool gets.
For the full polish workflow beyond AI retouching — cropping, cleanup, honest background fixes — see how to make food photos look professional.
FAQ
What does an AI food photo editor do? It automatically corrects the most common phone-photo problems: white balance, exposure, shadows and background clutter. Good ones take a raw restaurant photo to menu-ready in seconds, without manual sliders.
Will AI editing make my food look fake? Not if you use it for light and color rather than changing the food. The honesty rule: a guest ordering from the photo should recognize the plate when it arrives. Enhanced lighting passes; added ingredients or inflated portions do not.
Is an AI food photo editor free? You can try it free — MenuLolo's editor starts new accounts with 10 free credits, enough for a first enhancement, and uploading photos costs nothing. You should judge results before any payment, the same as with menu builders.
Do delivery apps accept AI-edited photos? Yes, as long as the dish is shown honestly. DoorDash requires photos that clearly show the menu item in proper lighting, without text overlays, on a neutral background — edits that meet those rules are welcome.
Quick recap
- An AI food photo editor fixes light, color and background in one pass.
- The honesty rule: the plate a guest orders must match the plate that arrives.
- Restaurant-specific tools beat general editors for menu work.
- Shoot once in window light, edit once, publish everywhere.
- Keep your raw files — edits are cheap to redo.
That is the whole playbook. The rest is repetition and a seasonal refresh.