
By Sarah Mitchell · September 20, 2026
20 Dessert Menu Ideas & Design Examples
Desserts are the most profitable course you serve and the most commonly wasted menu real estate.
Guests are full, decisions are made, and the checklist on the back of the menu does nothing to change that — dessert sales are made by presentation, naming, and one good photo.
These 20 dessert menu ideas rebuild that last impression into a course that sells, grouped into four sections: items, naming, design and selling mechanics.
Key takeaways
- Six items, three doors (warm, cold, fruit), one hero photo, bare-numeral prices.
- Name for texture and memory, not ingredients — under six words.
- Pairing lines with bare upcharges are the highest-margin sentences on the page.
- Sell the course: dessert-first ordering beats any layout trick.
What makes a dessert menu sell?
A dessert menu sells when it makes choosing feel easy and eating feel inevitable.
Structurally, that's menu engineering applied to your highest-margin category: "the design of a menu to maximize restaurant profits" (wikipedia.org) — six or fewer choices, sensory names, one hero photo, prices that don't interrupt the dream.
Everything below is a variation on those four moves.
20 dessert menu ideas
Item ideas — what to offer
- Two sizes of everything shareable. A "for two" and a "for the table" version of your showpiece dessert doubles the occasions it fits.
- One warm, one cold, one fruit. The three-door rule: every guest has a default, and the trio covers all of them without a full page of options.
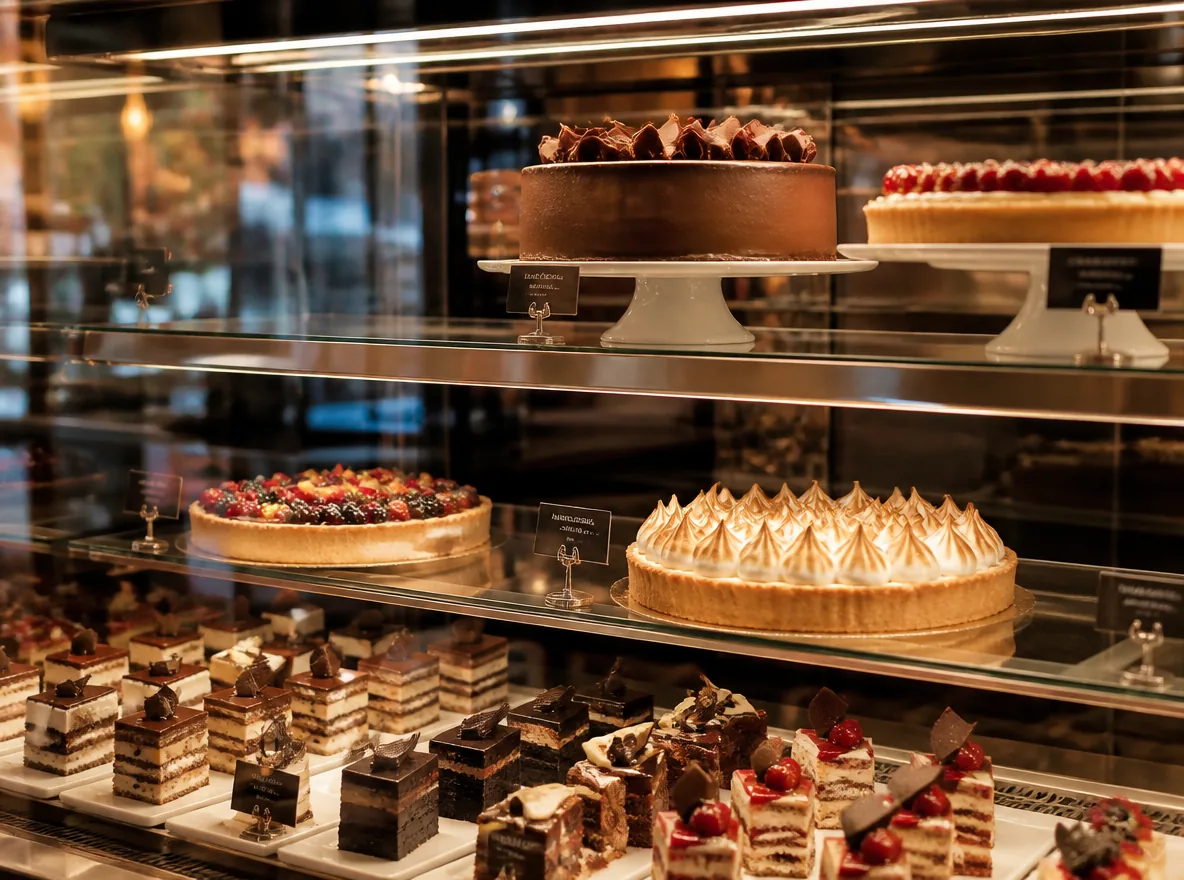
- A mini flight. Three two-bite desserts on one plate. It raises the average ticket, photographs beautifully, and lets the indecisive say yes.
- The make-it-yours topping. Vanilla gelato is a line item; vanilla gelato with their choice of three toppings is an experience. Same scoop, higher check.
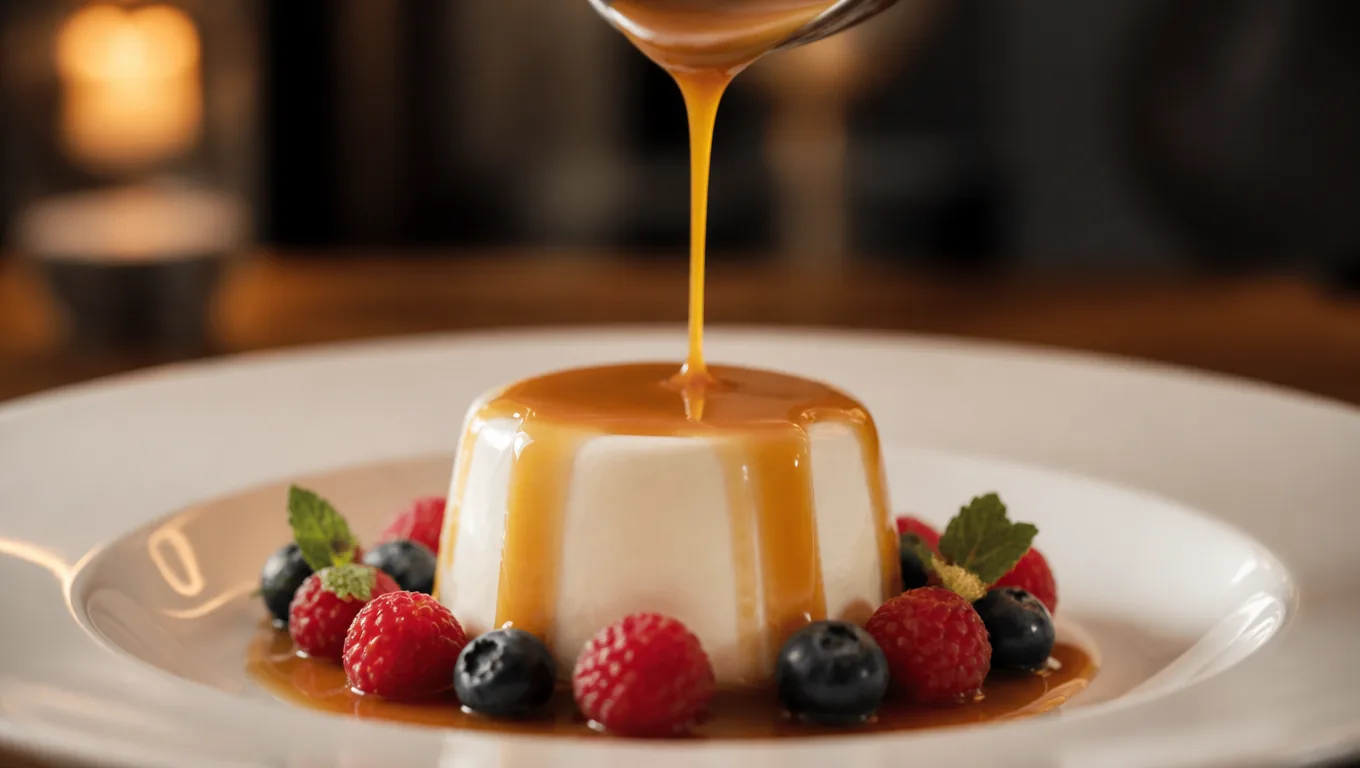
- A dessert the kitchen finishes tableside. Pouring the caramel, torching the meringue — the last ten seconds of theater justify the premium, and every nearby table notices.
- The overnight success. One dessert that requires a reservation of sorts — "pre-ordered chocolate soufflé." Scarcity by kitchen logic, and a reason to plan the next visit.
- Seasonal rotation slot. One line that changes with the fruit calendar. Regulars check what it is now; your menu never goes stale.
Naming ideas — what to call it
- Name the memory, not the ingredient. "Grandma's Sunday apple cake" outsells "apple cake with cinnamon." Dessert is emotion with a fork.
- Put the texture in the name. "Molten-center chocolate tart" tells the mouth what's coming; "chocolate tart" doesn't.
- Keep names under six words. The guest is full and the decision is late — every extra word costs conversions.
- Retire the "Death by" naming era. Guilt framing reads dated. Pleasure framing — "silky," "golden," "warm" — sells more and ages better.
- Name one dessert after the restaurant. "The Sol tart" becomes the dish people associate with the room, and the one regulars recommend.
Design ideas — how it looks
- One page, six items, done. Dessert menus die of length. Six choices read in ten seconds; sixteen read like homework at the end of a long meal.
- A single hero photo. Menus with images outsell text-only listings — DoorDash tells merchants that menus "with header images and logos often get more monthly sales" (merchants.doordash.com). One stunning shot of your best dessert beats six average ones.
- Bare-numeral prices. In a Cornell field study, diners spent about 8% more when menus dropped dollar signs — "references to dollars... reminds people of the 'pain of paying'" (news.cornell.edu). Dessert is the last place you want pain in the frame.
- Pairing lines under each item. "With the Tokaji, +6" — a drink suggestion with a bare-numeral upcharge is the highest-margin sentence on the page.
- The insert card, not the back of the check. A one-page dessert card brought with the check tray feels like a course; a footnote at the bottom of a receipt feels like a toll.
Selling mechanics — how it leaves the kitchen
- Dessert-first ordering. Ask tables to choose dessert when they order. Kitchens plate smoother, and commitment beats impulse — the guest who chose the soufflé at the start isn't too full for it at the end.
- The showcase pass. One dessert cart, tray or photographed tablet making a single lap at peak hours. It's the menu that walks, and it never fails to convert at least one table.
- A dessert link on your online menu. Guests pre-read menus on their phones — the dessert section should be visible there too, with the same photo and prices as the table card. Update it from one place and both stay in sync; that's the quiet advantage of building menus in a menu maker instead of print files.
Which desserts should you photograph?
Shoot your single best seller, not your whole list.
The photo needs the platform-grade basics — clear subject, proper lighting, no text overlays or busy backgrounds, the standards DoorDash sets for merchant photos (merchants.doordash.com) — because at menu size, one professional image reads as quality for the whole course.
Desserts that move visually (the molten center, the pour, the gelato ball) photograph better than brown-on-brown chocolate plates; pick the shot that makes someone hungry, then update it when the seasons rotate.
If the originals are dim or cluttered, free enhancement credits on our AI food photo editor fix the worst of it in minutes.
How should you price a dessert menu?
Anchor the middle: two desserts at $9-12, one hero at $14-16, the flight at $15. Guests compare within the page, so the hero makes the $11 tart feel responsible and the flight feel like variety rather than more money.
Keep prices as bare numerals per the Cornell finding above, and put pairings as bare upcharges — "+6", not "$6.00 extra". Dessert pricing has one extra rule: never be the most expensive course per gram.
It's a small pleasure, priced like one.
Print, QR, or both?
Both, with separate jobs. The printed insert card does the table work — six items, one photo, the pairing lines.
Your online menu carries the full section with the same names and prices, so guests who pre-read see what they'll be offered, and the two can't drift apart because they're edited in the same place.
When the seasonal slot rotates, one edit updates both — no reprint, no stale insert cards living in a drawer.
FAQ
How many items should a dessert menu have?
Six. Enough to cover warm, cold and fruit preferences, small enough to read in one glance. Longer lists slow the decision when the guest is already full.
Do dessert menus need photos?
One great photo, yes. Images reliably outsell text-only listings, and dessert is the most visual course you serve. One hero shot of your best seller does more than six average photos.
What's the best way to introduce a dessert menu?
With the check, on its own card — or better, at ordering time via dessert-first sales. Both beat the bottom-of-the-receipt afterthought.
How do I make a dessert menu for free?
Build it as a section in a free menu builder with a photo of your hero dessert and print the one-page insert yourself — building is free, and publishing to your online menu comes with a Starter or Pro plan. MenuLolo's free tier covers one full menu; see our cafe menu ideas for the same playbook on drinks and daytime items.
Cooking for families too? A dedicated kids menu keeps younger guests (and their parents) happy.
Quick recap
- Six items, three doors (warm/cold/fruit), one hero photo, bare-numeral prices.
- Name for texture and memory, not ingredients — under six words.
- Pairings with bare upcharges are the highest-margin lines on the page.
- Sell the course: dessert-first ordering and a showcase pass beat any layout trick.
- Print the insert, publish the section — one source, both in sync.
For the design system underneath, our menu design tips and menu color psychology guides cover the rest of the menu too.